Guides/Captions and voices
Auto-captions
One button transcribes a clip on your machine and puts a title per phrase on the timeline. Where the button is, which model to pick, and how to restyle the result.
Where the button is
Generate Captions is the T button on the timeline tray, right after the magnetic switch. Right-clicking a clip with sound also offers Generate captions, with that clip already chosen. On a phone it is Captions on the bottom strip.

The T opens Captions; the speaker next to it opens Text to speech.
Caption a clip
- Select the clip with the voice in it on the timeline. A video with its own sound works, and so does a separate audio clip, such as a voiceover.
- Click Generate Captions. With a clip with sound selected, the sheet opens with Use voice from timeline on and that clip chosen. The list offers every clip on the timeline that has sound, named by its file and where it starts.
- Pick a Model. Base (English) is the sweet spot; the sheet lists whichever Whisper models you have downloaded.
- Choose a Placement (Bottom, Centre or Top) and a Size (Small, Medium, Large).
- Click Generate captions.
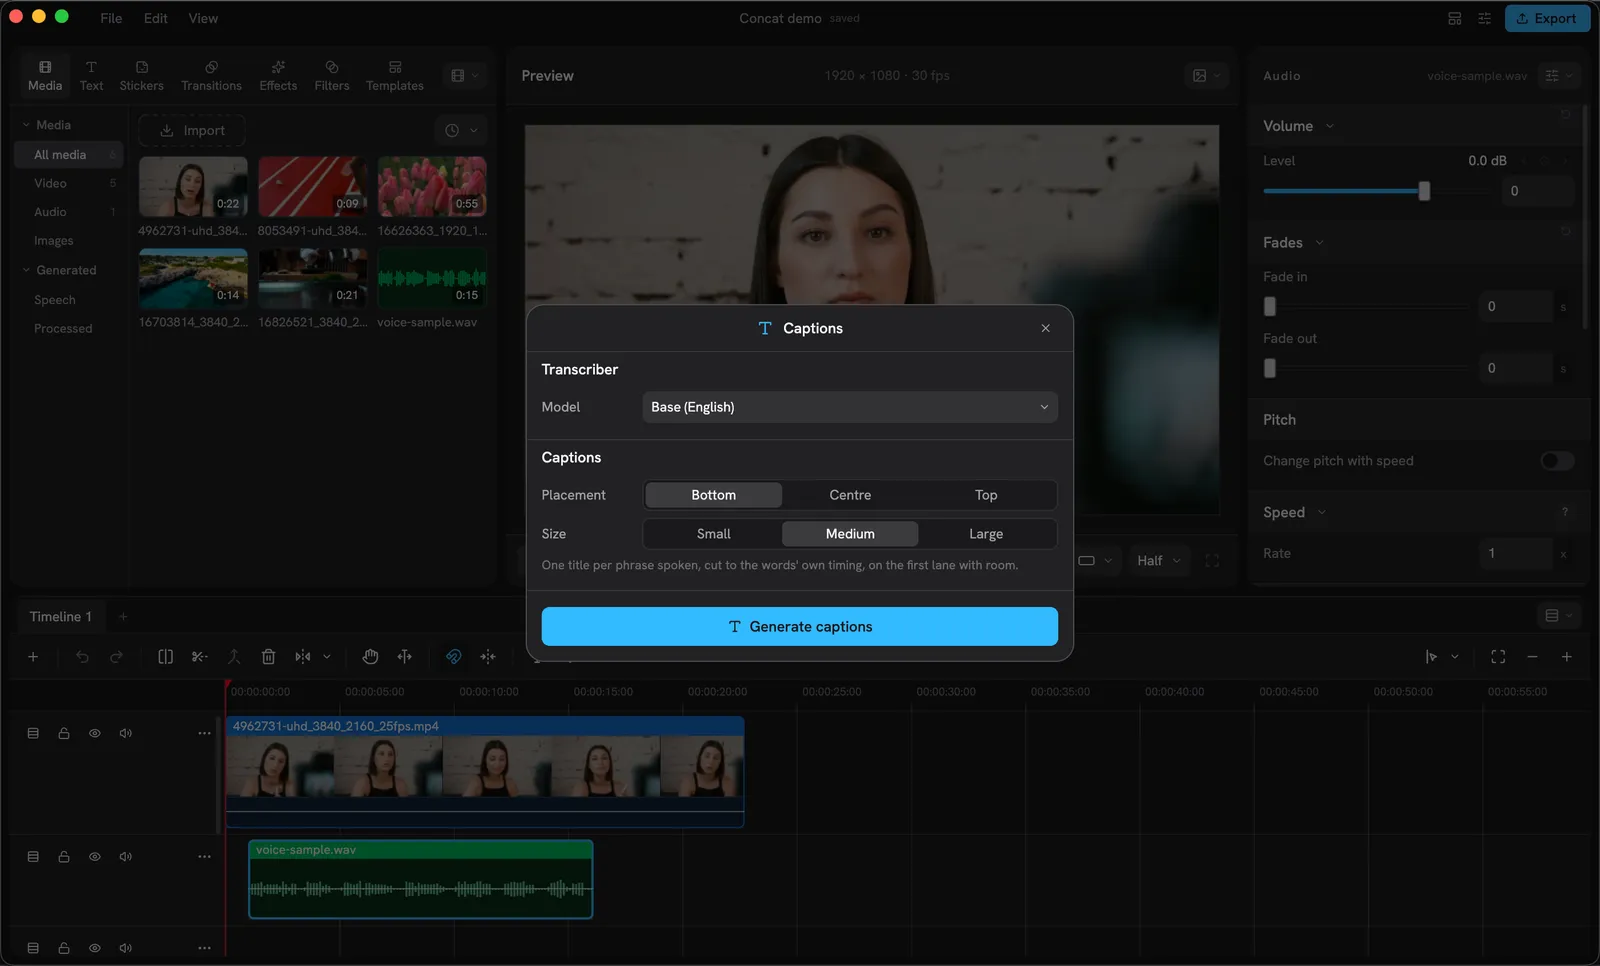
The Captions sheet, opened with the voice clip selected.
The sheet reads “Loading the model”, then “Transcribing” with a percentage. Nothing leaves your machine at any point; a 15-second clip takes a few seconds on the Base model.
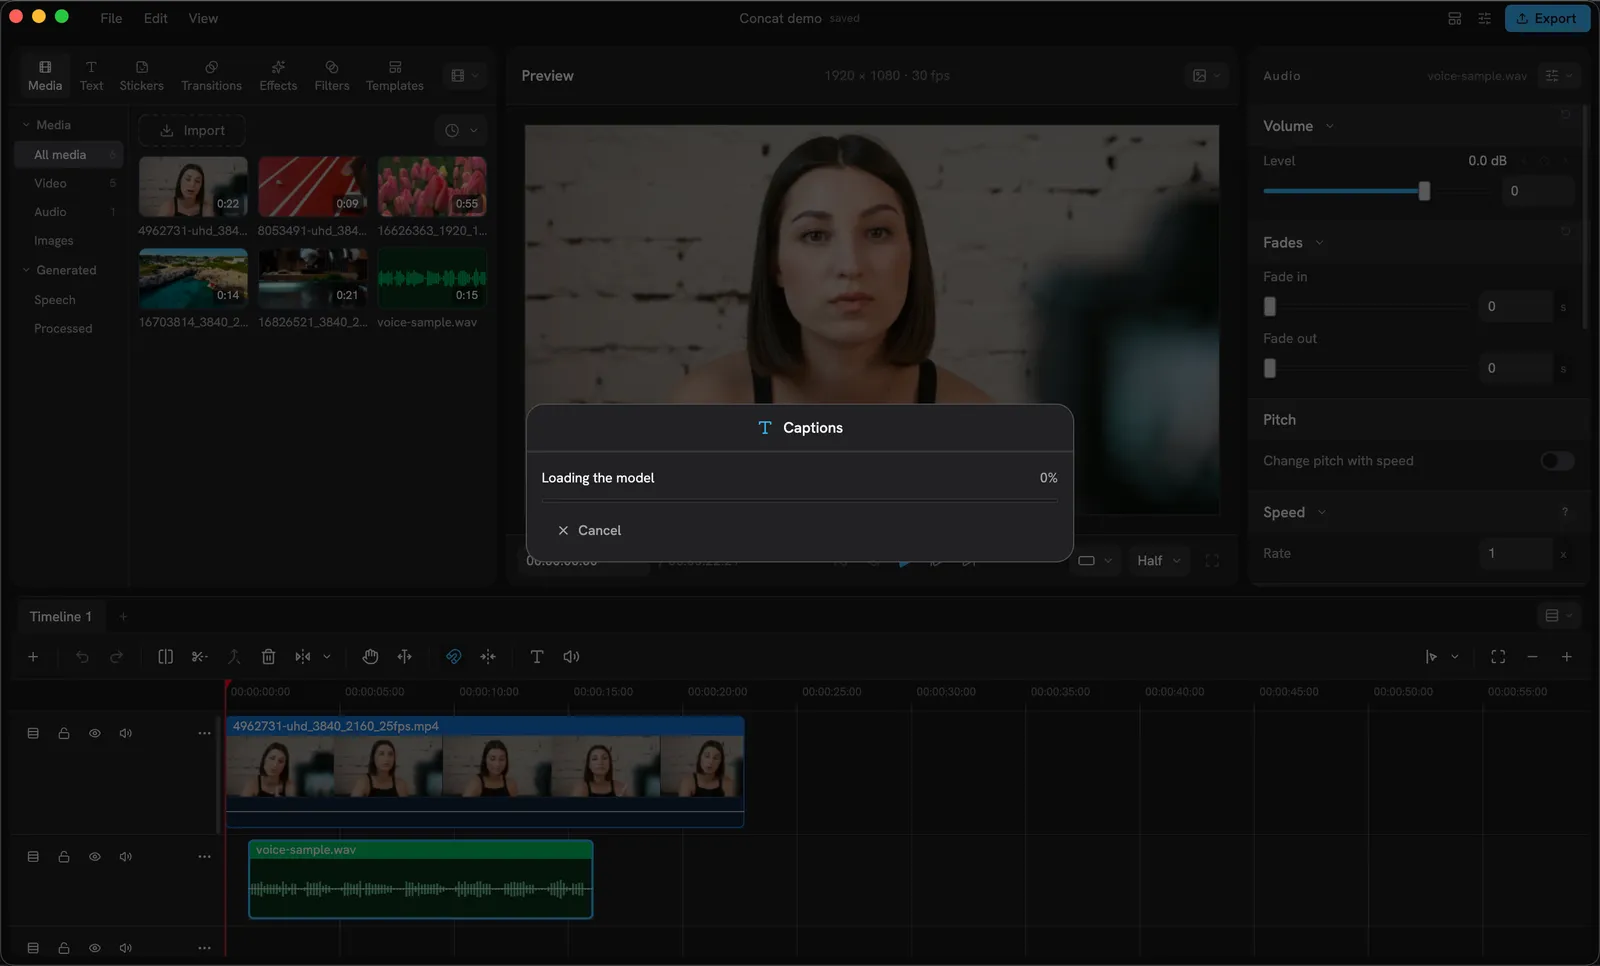
Loading the model, then transcribing.
When it finishes, one title per phrase spoken lands on the first lane with room, cut to the words’ own timing, and a toast says how many captions were added.
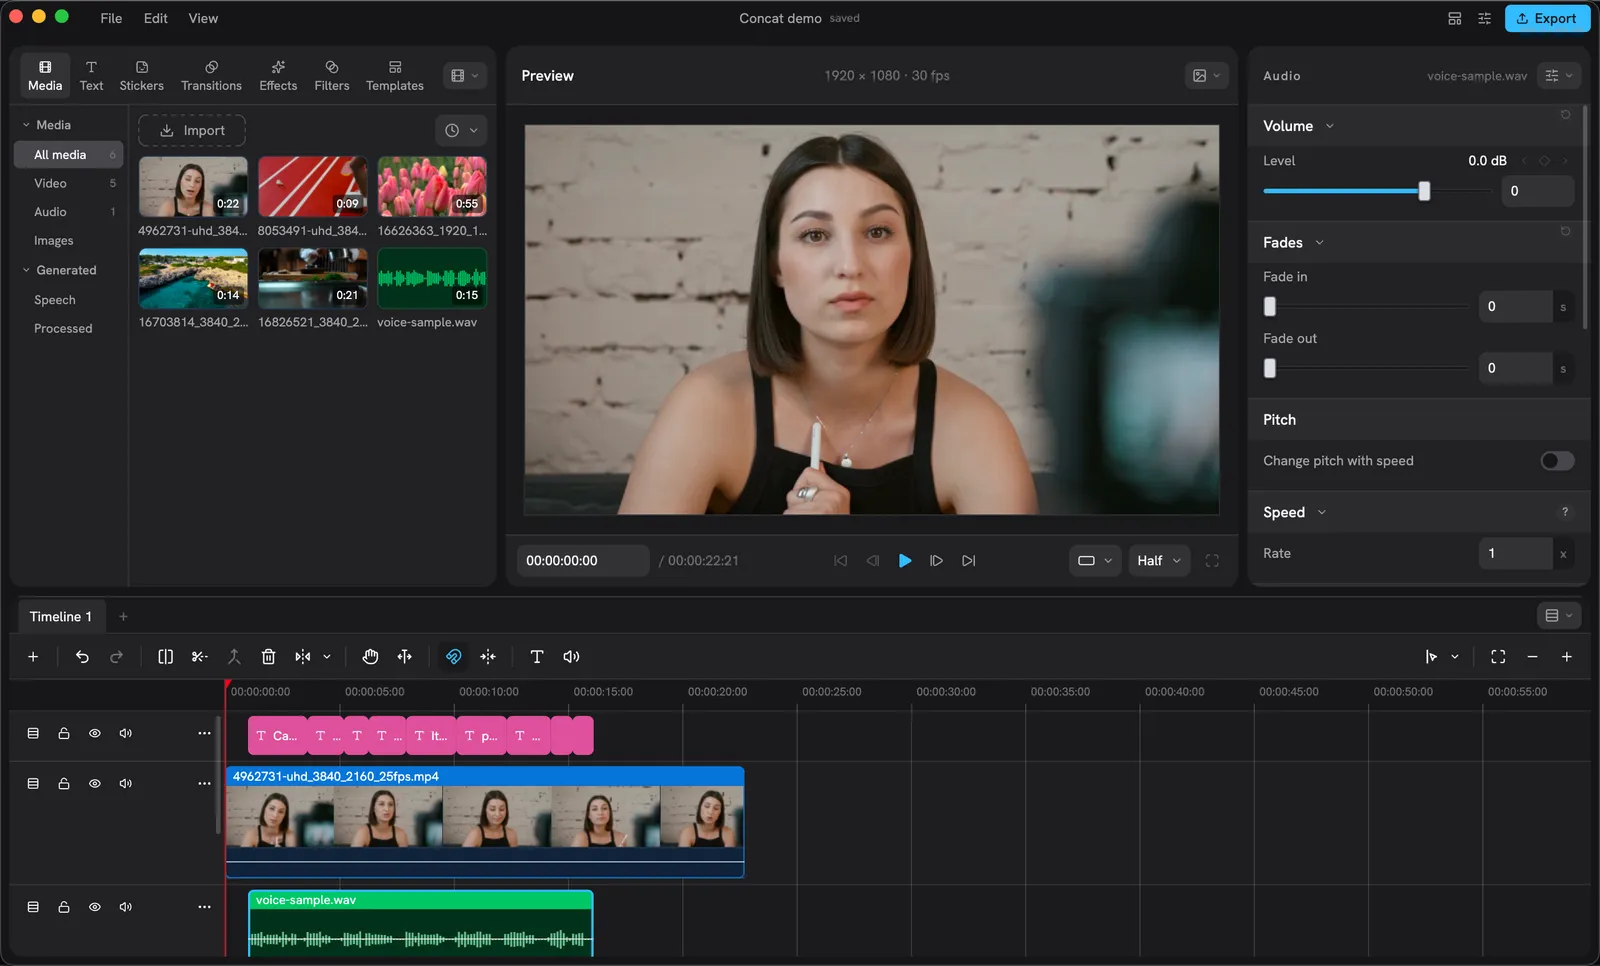
Seven captions on a new lane, each one timed to a phrase.
Caption from a script
Turn Use voice from timeline off (it starts off when no clip with sound is selected) and the sheet shows a Script box instead of the model picker. Type or paste the words, choose placement and size, and click Add captions: one title per sentence, each held for as long as it takes to read, one after another from the playhead.
The floating Captions panel
On a desktop, Captions is no longer a sheet that dims and freezes the editor. It is a card that floats over the window: the timeline, the playhead and the selection keep working under it, you drag it by its header, and it stays where you put it for the session. Its close button hides the card and leaves a running transcription going; open it again to see the run. If a run fails while the card is closed, a notice says so. Escape closes it.
With the card open, the clip it captions follows the selection: select another clip with sound and that is the one shown and transcribed. On a phone, or in a window too narrow for the card, Captions stays a sheet.
Import and export SRT
The Captions sheet has Import SRT… and Export SRT….
- Import SRT… reads a SubRip
.srtfile and lays each cue down as a title at the time the file gives it, with the sheet’s placement and size. The whole import is one undo step. - Export SRT… writes a lane of titles as a
.srt: the lane of the selected title, or, with no title selected, the lane with the most titles, and the notice says which. The file is named after the project. On Android it goes to Download/Concat; on an iPhone to the app’s Exports folder in Files.
Fix a word
Captions are ordinary titles. Click one on the timeline and its words are in the Content box of the Inspector’s Text tab; fix the word there. Drag the clip’s edges to retime it.
Restyle every caption at once
- Click one caption, then Shift-click the others (or drag a box around the lane) to select them all.
- The Text tab reads “Editing N titles”. Change the font, size, colour, shadow or background plate: it applies to all of them in one undo step.
To make that look the default for every caption and title you add from now on, click Use for new titles under the Font picker. Generated captions use that kept style.
Why a word is wrong
Whisper hears what it hears: product names, names of people and anything mumbled come out as the closest common word. The Small models get more right; a quiet room helps more. Fix the odd word in the Content box rather than reaching for a bigger model every time.